

My sewing machine cabinet I built last year has seen two colors of paint. Gray then black. It has been in the dinning room & living room both & now it is in the room I am making into my bedroom. On top of a pine chest at the end of my bed for now. I am redoing the chest when time allows. Another on going project! I am looking for a desk type table with shelves on top to put all my sewing baskets in to organize a sewing area. My thoughts are to put the sewing machine & the cabinet on the desk table top. Due to the weight of the cabinet & it not being easy for me to lift the cabinet over top the sewing machine my thoughts for the future are to cut a large rectangle out of the back so I can just slide the cabinet out from the sewing machine. When I made it I wanted a full back because it was going to sit in front of the windows. Wanted to hide the sewing machine even from the view from outside the windows looking inside. So all this being said I received an email this week asking about the wood I used. So I thought I would just post the information. Photos follow.

Cabinet Back Showing Hinges. They were used. Taken off Of an old bread box. Attached to the cabinet back & lid.
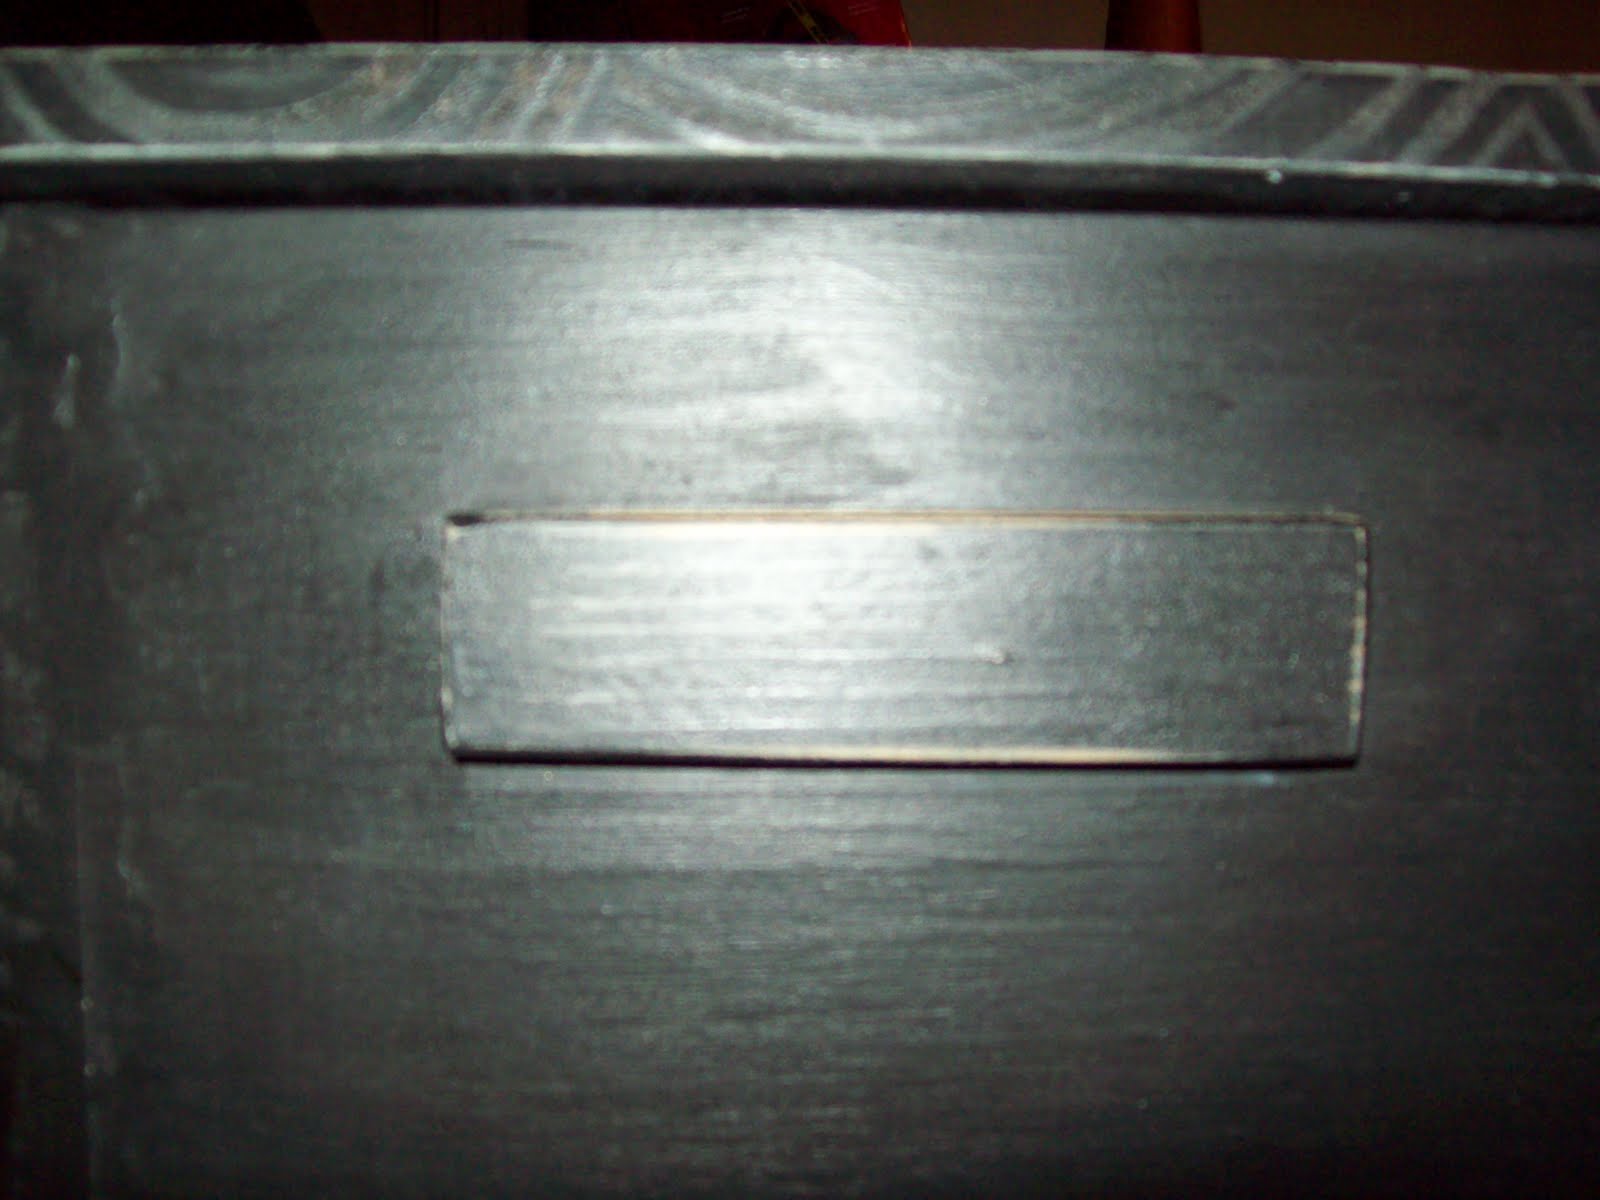
Cabinet Side Showing Handles. The wood was scrap pieces . Sanded wood glued & screwed fast to the sides from the inside of the cabinet with short wood screws.

Here is a primitive sketch of my plans I used. I added the future back sketch today. I hope by clkicking n this photo you can enlarge it & then copy from your printer.
The easiest way for me to build this was to visit Lowes. The local Lowes has lumber cut in smaller lengths. Much easier for me to haul & less cuts for me to make.
4 - 16" X 48" X 1" Pine Boards 2 Cut 25"Long 1 Cut into 2 10" Long Pieces
1 Cut 27" Long & Cut 13" Wide for lid over hang
3 - 3 1/2 X 48 X 1/4" Pine Boards Cut 24" long
Centered & Glued with wood glue to the cabinet front
6 - Unfinished Pine Cabinet Knobs I drilled holes through the fake draws attached
the knobs & the screws that came with them. Screw
screw heads inside the cabinet.
1 - Chest Hinge Size depending on how deep you make the thread storage area
Mine is 3 1/2" deep. I used a thin piece of scrap craft board & fastened it
with 6 metal L shaped brackets that screwed into the cabinet sides from the inside to the thread storage area floor under side.
12 - Wood screws 1 1/4" long I drilled the holes with a smaller dill
bit then used a larger drill bit to countersink the holes so the screw heads
would be inside the wood. I filled the holes in with wood putty & sanded the
areas before painting.
Sanded the whole cabinet painted & sanded areas to remove paint then used walnut stain & rubbed off until I got the look I wanted.
Please remember I am a do it yourself crafter so this is not a professional providing this information. I would advise measuring the sewing machine you will be storing underneath the cabinet before building for sure. I allowed for extra room just in case I would some day have a bigger sewing machine. The inside is smaller than the outside.
I hope this has answered the email I received. Good luck. I would love to hear from you & see your cabinet when you have completed it.
Blessings Til Next Time!
Lara


Lara, I love the sewing machine cabinet! Hubby built me one for my birthday and I had him leave the back out.I love mine even though it is still kind of heavy.Very generous of you to share how to make one. Hugs,Jen
ReplyDeleteLar, Love the cabinet , Im gonna have to make me one in the future. Thanks for sharing the how to! Have a great week! hugs lilraggedyangie
ReplyDeleteA very nice sewing cabinet. Black is always a classic. -Steph-
ReplyDeleteI so need something like that...but first I need a place where I can keep the machine set up....I have a heavy Bernina - and each time I use it, I have to haul it out, set it up on the table (usually clearing a space first) and then do what I need to do, and then take it back down and put it back away. Needless to say, my sewing projects stack up...and up....Love the look of yours - don't think I could lift it up and over though either....Thanks for sharing your "how-to's." Smiles & Hugs ~ Robin
ReplyDeleteThanks for sharing! I love your little cabinet ~ you did an amazing job!
ReplyDelete